
Biohort DaVinci Manual
PDF Handbuech · 44 puslapių
Lëtzebuergesch



Quick check
Incorrect answer, please try again.
Sarunājieties ar savu Biohort DaVinci rokasgrāmatu, izmantojot AI
Saņemiet tūlītējas AI atbildes no sava Biohort DaVinci rokasgrāmatas
Uzdodiet jebkuru jautājumu par Biohort DaVinci. Atbildes nāk no šīs rokasgrāmatas, norādot lapas, uz kurām tās balstās.
DaVinci Ënnerhaltplang
Reinegt Sonnenlotion oder all aner Cremes mat Seif a Waasser.
Stellt keng aggressiv Substanze wéi Chlor oder Stroossesalz an d'System.
Benotzt keng schleifend Reinigmëttel beim Reinegen vum Produkt.
Eng Fro
Empféle Dir DaVinci?
Jo NeeHäifeg Froen
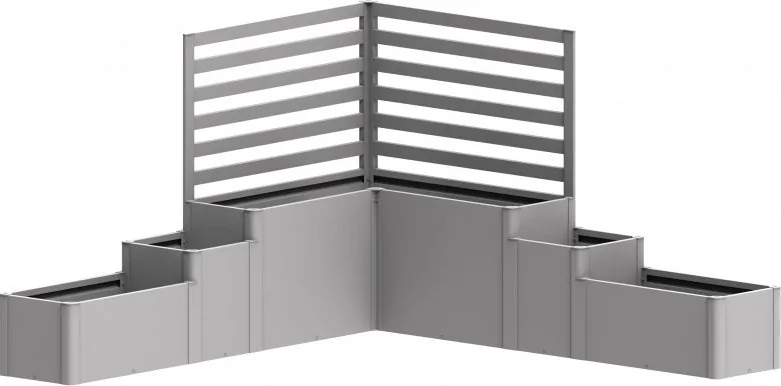
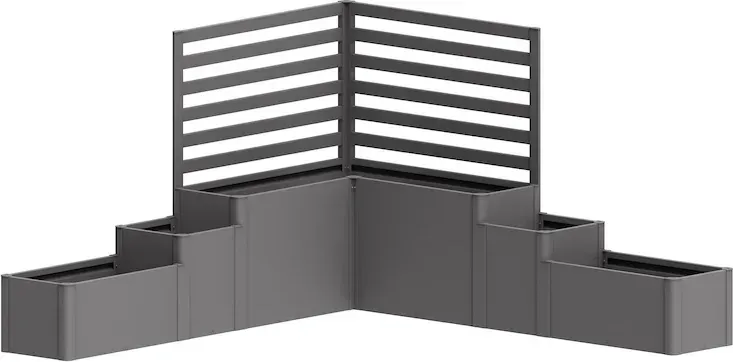
The system includes straight, stepped (height-graded) and L‑shaped modules that can be combined to create custom raised bed layouts for different spaces and planting needs.
Hëlleft Iech dës Änntwert?
Yes. Some assembly steps require a helper due to panel size or alignment. The manual specifies where extra hands are recommended and uses QR-code videos to demonstrate more complex steps.
Hëlleft Iech dës Änntwert?
Nuts and bolts should generally not be fully tightened until the end of the entire assembly to allow alignment adjustments and ensure all panels and components fit correctly.
Hëlleft Iech dës Änntwert?
Ensure the ground is level and firm. Use a suitable underlay during assembly to prevent scratches and protect the finish. Proper site preparation ensures stability and longevity of the raised bed.
Hëlleft Iech dës Änntwert?
Avoid storing aggressive chemicals near or inside the unit. Clean creams or grime with soap and water and do not use abrasive cleaners. Regular visual checks and gentle cleaning preserve the finish and function.
Hëlleft Iech dës Änntwert?
Do not install damaged parts. Report any damage to Biohort in advance with clear photos and the control/item numbers. If damaged parts are installed, they will be considered accepted and claims may be rejected.
Hëlleft Iech dës Änntwert?
Yes. The manual includes QR codes that link to YouTube videos demonstrating individual assembly steps, plus 1:1 scaled screw drawings and clear panel orientation instructions to guide installation.
Hëlleft Iech dës Änntwert?
Virdeeler an Noodeeler
Virdeeler

- Modular design (straight, stepped, L-shaped) enables custom layouts and scalability.
- Durable, weather-resistant materials and Austrian engineering for long-lasting use.
- Clear assembly guidance with 1:1 screw drawings and QR-code video support for tricky steps.
- Low maintenance: easy cleaning with soap and water; avoid abrasive chemicals.
- Attention to safety: instructions emphasize gloves, underlay, and keeping small parts from children.
Noodeleg

- Some assembly steps require a helper and careful handling of heavy or large panels.
- Damaged parts must be reported before installation or they are considered accepted.
- Fasteners must be left loose until final assembly, which can be unintuitive for DIYers.
- Sensitive finish — risk of scratches during assembly without proper underlay and gloves.
- Not suitable for storing aggressive chemicals; placement and maintenance restrictions apply.
Produkt Spezifikatioun
Material
Metall
Form
rechteckeg
Produkt Beschreiwung
Biohort DaVinci Plant Box System Raised Bed — Practical Guide and Manual Overview
The Biohort DaVinci Plant Box System Raised Bed is a modular, high-quality planter solution designed for patios, terraces, and gardens. Built from durable, weather-resistant materials with precision engineering from Austria, the DaVinci system offers straight, stepped and L-shaped modules that can be combined to form tailored raised beds. Each module features a color-finished exterior and internal components engineered for longevity, providing a clean, modern aesthetic while supporting healthy plant growth.
Assembly is straightforward but benefits from planning and a helper for some steps. The included instructions show part-by-part assembly, with scale-accurate screw illustrations and clear indications when parts must be aligned with a spirit level. Nuts and bolts should generally be left untightened until the end of the build, and adhesive tapes and colored panels must be oriented as indicated. For certain steps, QR codes link to step-by-step video guides to simplify tricky procedures.
Installation guidance emphasizes a level, firm foundation and the use of protective underlay and work gloves to avoid scratches and injury during assembly. Biohort warns against fitting damaged parts — any defects must be reported with photos before installation, otherwise the parts are considered accepted. Small parts and packaging should be kept away from children, and attention to potentially sharp edges is advised throughout assembly and daily use.
Care and maintenance are minimal: avoid storing aggressive chemicals (chlorine, road salt) inside or near the planter, remove sunscreen or creams with soap and water, and do not use abrasive cleaners. These recommendations help preserve the finish and structural integrity of the raised bed.
The product documentation includes a comprehensive parts list for straight, stepped and L-shaped modules, recommended hardware sizes (e.g., 4.8 x 19 screws), and clear assembly tips such as installing panels with the color side up and preparing channels for irrigation. Biohort also provides support contact details for questions or complaints and requests that any warranty or complaint references include the control number and item numbers.
Notes:
- Modules are combinable: plan your layout before starting to streamline assembly.
- Keep fasteners loose until final alignment to ensure correct fitment.
- Use the QR-code videos for visual guidance on complex steps.
Sich no 67.706 Manualen online


Mark oder Modell aginn